
For car enthusiasts and DIY mechanics, few tasks are as rewarding as successfully fixing a car on your own or fixing brake systems at home. Among the many maintenance jobs that can be done in a home garage, brake repair is one of the most common — and one that directly impacts driving safety.
Understanding how to use a brake caliper compression tool can make the process of changing brake pads or servicing the braking system much easier and more professional.
Whether you’re working on a daily commuter or a high-performance vehicle, learning how to handle fixing brake systems at home or your brake compression tool properly is a must for any DIY mechanic.
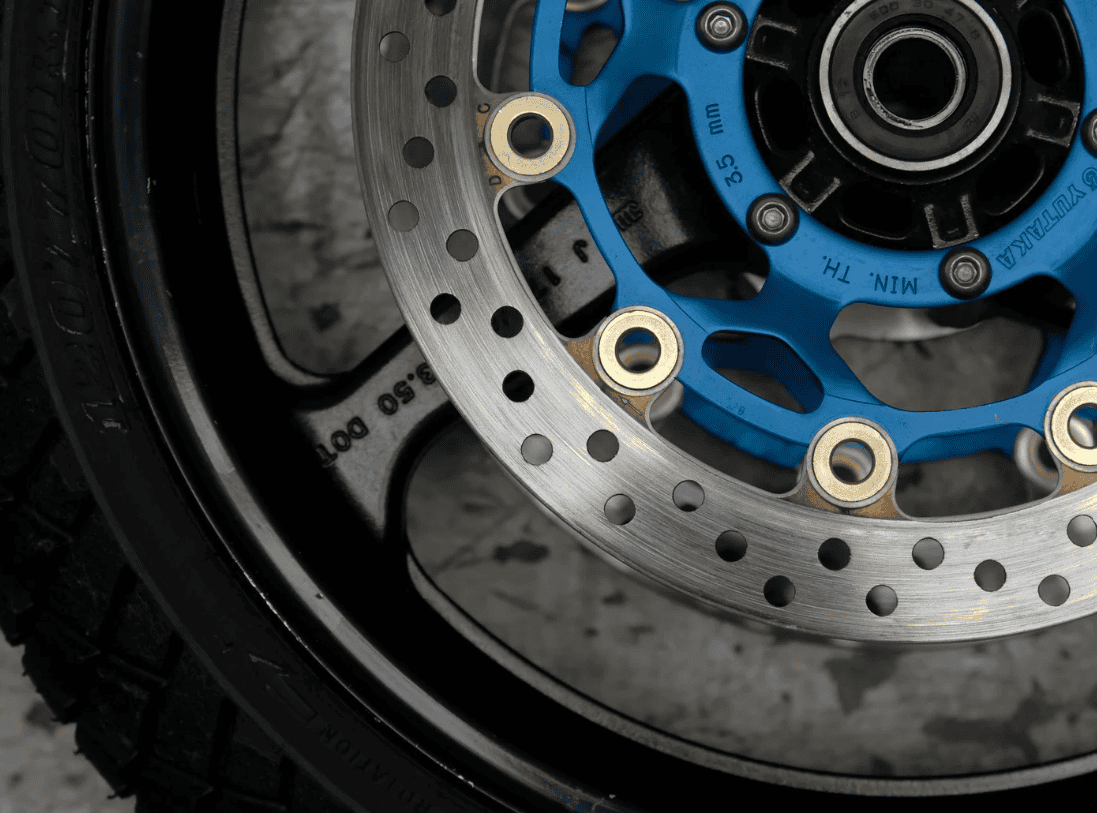
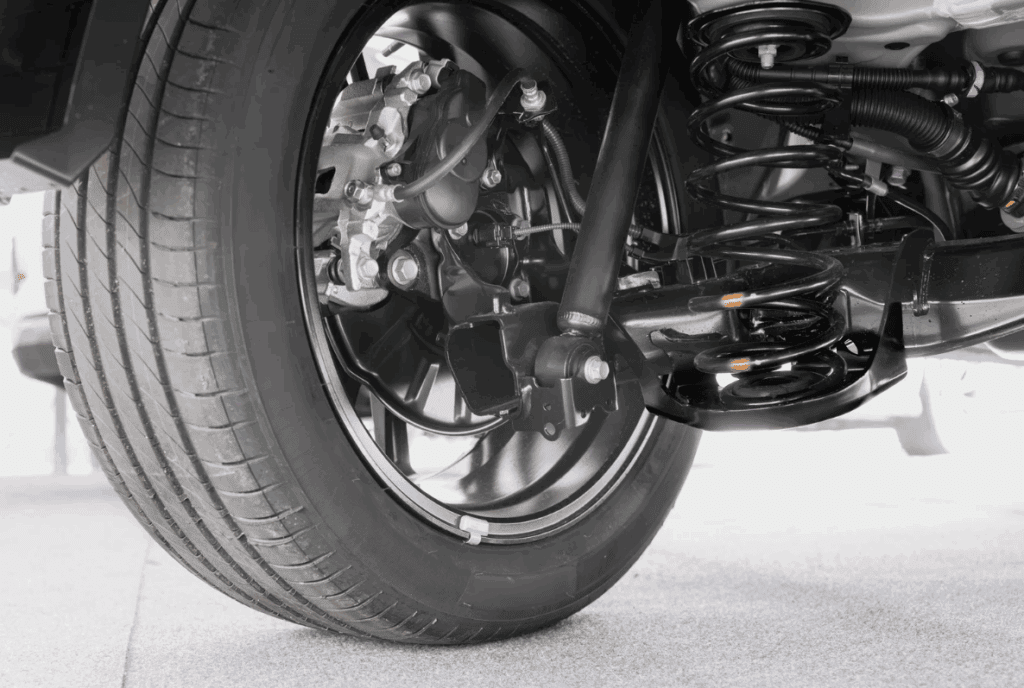
The braking system on any modern vehicle is a complex yet beautifully engineered component. At its core, the caliper’s job is to squeeze the brake pads against the rotor, creating the friction needed to slow down or stop the vehicle.
Over time, these pads wear down and need to be replaced. When this happens, you’ll notice reduced braking performance, grinding sounds, or vibration when pressing the pedal. That’s when a caliper piston tool becomes essential.
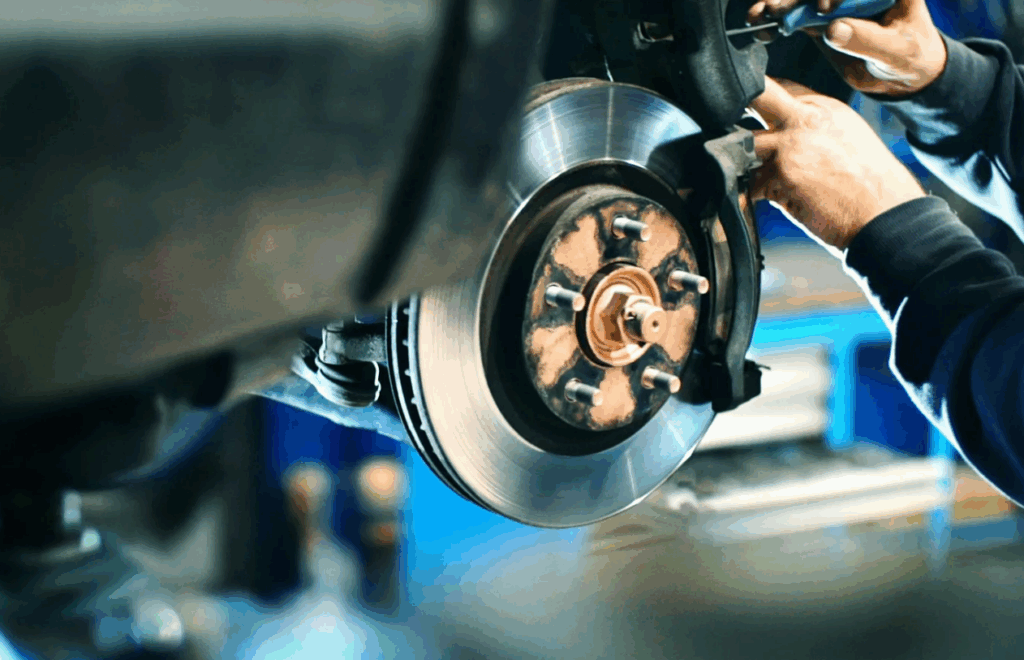
When you remove the old brake pads, you’ll find that the caliper piston — the component that pushes the pads against the rotor — has extended outward. To fit the new, thicker pads, this piston needs to be pressed back into the caliper.
Doing this by hand or with makeshift tools can damage the piston or seals. That’s where a brake caliper compression tool or brake piston retraction tool comes in handy. It’s designed to apply even pressure and safely push the piston back, allowing you to install new brake pads without damaging any components.
The process begins by safely lifting the car and removing the wheels. Once you have access to the brake caliper, the first step is loosening the bolts that hold it in place. After removing the old pads, inspect the caliper and rotor for any visible damage or wear.
If everything looks clean, it’s time to use your brake compression tool. There are two main types of compression tools — one with a simple screw-type mechanism that fits into the caliper, and another with adapters that can rotate the piston as it retracts.
Some vehicles, especially those with rear disc brakes, require the piston to be both pushed and twisted simultaneously due to the integrated parking brake mechanism. In these cases, a universal caliper piston tool kit is the best option because it includes multiple adapters for different vehicle makes and models.
Using the brake caliper compression tool is straightforward. Place the compression plate or disc inside the caliper against the piston, then turn the handle or knob slowly. You’ll see the piston retract smoothly into the caliper housing.
If your car’s system uses a twist-type piston, attach the correct adapter and rotate while applying pressure. The goal is to compress the piston fully without forcing it.
Once it’s retracted, you can easily fit the new pads and reassemble the caliper. Remember to double-check all bolts and connections before reinstalling the wheel.
For anyone performing DIY brake repair or fixing brake systems at home, investing in proper brake pad replacement tools is critical. A high-quality brake caliper compression tool set not only saves time but also prevents costly mistakes.
Using pliers or clamps as substitutes might seem convenient, but they can easily slip and cause scratches or leaks in the caliper seals. These small damages can later lead to uneven braking or even brake failure.
Moreover, having dedicated tools helps ensure consistent, professional results, even if you’re just a weekend mechanic.
When choosing a brake caliper compression tool kit, look for one that includes a variety of adapters and backing plates. Universal kits are ideal because they’re compatible with most domestic and imported vehicles.
Another tip is to pick a tool with a durable steel screw mechanism and a comfortable handle for better torque control. Many modern kits come with both left-hand and right-hand threaded tools, allowing you to service both sides of the car efficiently.
Besides compression tools, fixing brake systems at home requires a few other essential tools and supplies. You’ll need a lug wrench, a jack and jack stands for lifting the vehicle safely, a socket set for removing caliper bolts, and possibly some brake cleaner to remove dust and grime.
It’s also good practice to have a small amount of brake fluid on hand in case the level drops after compressing the pistons. Bleeding the brakes after installation is also recommended to remove any trapped air from the lines.
For beginners, performing DIY brake repair at home can feel intimidating at first, but with patience and the right brake tools, it quickly becomes manageable. Start with a clear workspace and make sure to wear gloves and safety glasses.
Always check the manufacturer’s recommendations for your vehicle before beginning, as some cars have electronic parking brakes or special piston mechanisms that require unique handling.
Another key detail often overlooked is the condition of your caliper guide pins. While replacing pads and compressing pistons, take a moment to inspect and lubricate the pins with high-temperature grease.
This ensures smooth caliper movement and prevents uneven pad wear. Similarly, check the brake rotors — if they’re heavily grooved or warped, resurfacing or replacement might be necessary. Combining fresh pads with worn rotors reduces braking efficiency and can cause noise or vibration.
Over time, learning how to use specialized tools like a caliper compression tool helps DIY enthusiasts become more confident in handling car maintenance. It’s also a cost-effective skill.
Professional brake service can easily cost several hundred dollars per axle, while doing it yourself costs a fraction of that. Once you understand the process, you can complete a full brake pad replacement in a couple of hours with minimal effort.
For those who enjoy the process of self-maintenance, there’s a certain satisfaction in fixing brake systems at home and understanding your vehicle’s braking system inside and out.
Not only does it save money, but it also builds a stronger connection between you and your car. You’ll know how to diagnose issues faster, recognize when parts are wearing out, and keep your car performing safely.
There are many online guides and video tutorials that show step-by-step demonstrations of how to use a brake caliper compression tool effectively. Watching one before starting your own project is a great way to visualize the process.
Once you’ve done it once or twice, it becomes second nature. As you gain more experience, you may even start exploring other brake service jobs such as replacing rotors, bleeding brake lines, or upgrading to performance pads.
If you plan to expand your home workshop, consider adding a brake piston compressor set, a torque wrench for tightening caliper bolts precisely, and a digital caliper to measure rotor thickness. These small investments greatly improve accuracy and safety in your DIY repairs.
In conclusion, using a brake caliper compression tool is one of the most important steps in a DIY brake repair process. It ensures that your pistons retract evenly, your new pads fit correctly, and your braking system performs at its best.
From choosing the right brake compression tool to understanding how to handle the caliper piston tool with care, every step contributes to safer, more reliable driving.
Whether you’re replacing brake pads, maintaining a secondhand car, or simply learning the basics of automotive care, mastering the use of brake pad replacement tools is an essential skill for any car owner who values performance and safety.
With a bit of time, the right equipment, and attention to detail, anyone can handle fixing brake systems at home confidently. A reliable brake caliper compression tool kit doesn’t just make the job easier—it transforms your garage into a professional-grade workspace, giving you the confidence and independence to keep your vehicle running smoothly for years to come.